

 3D
Project guides
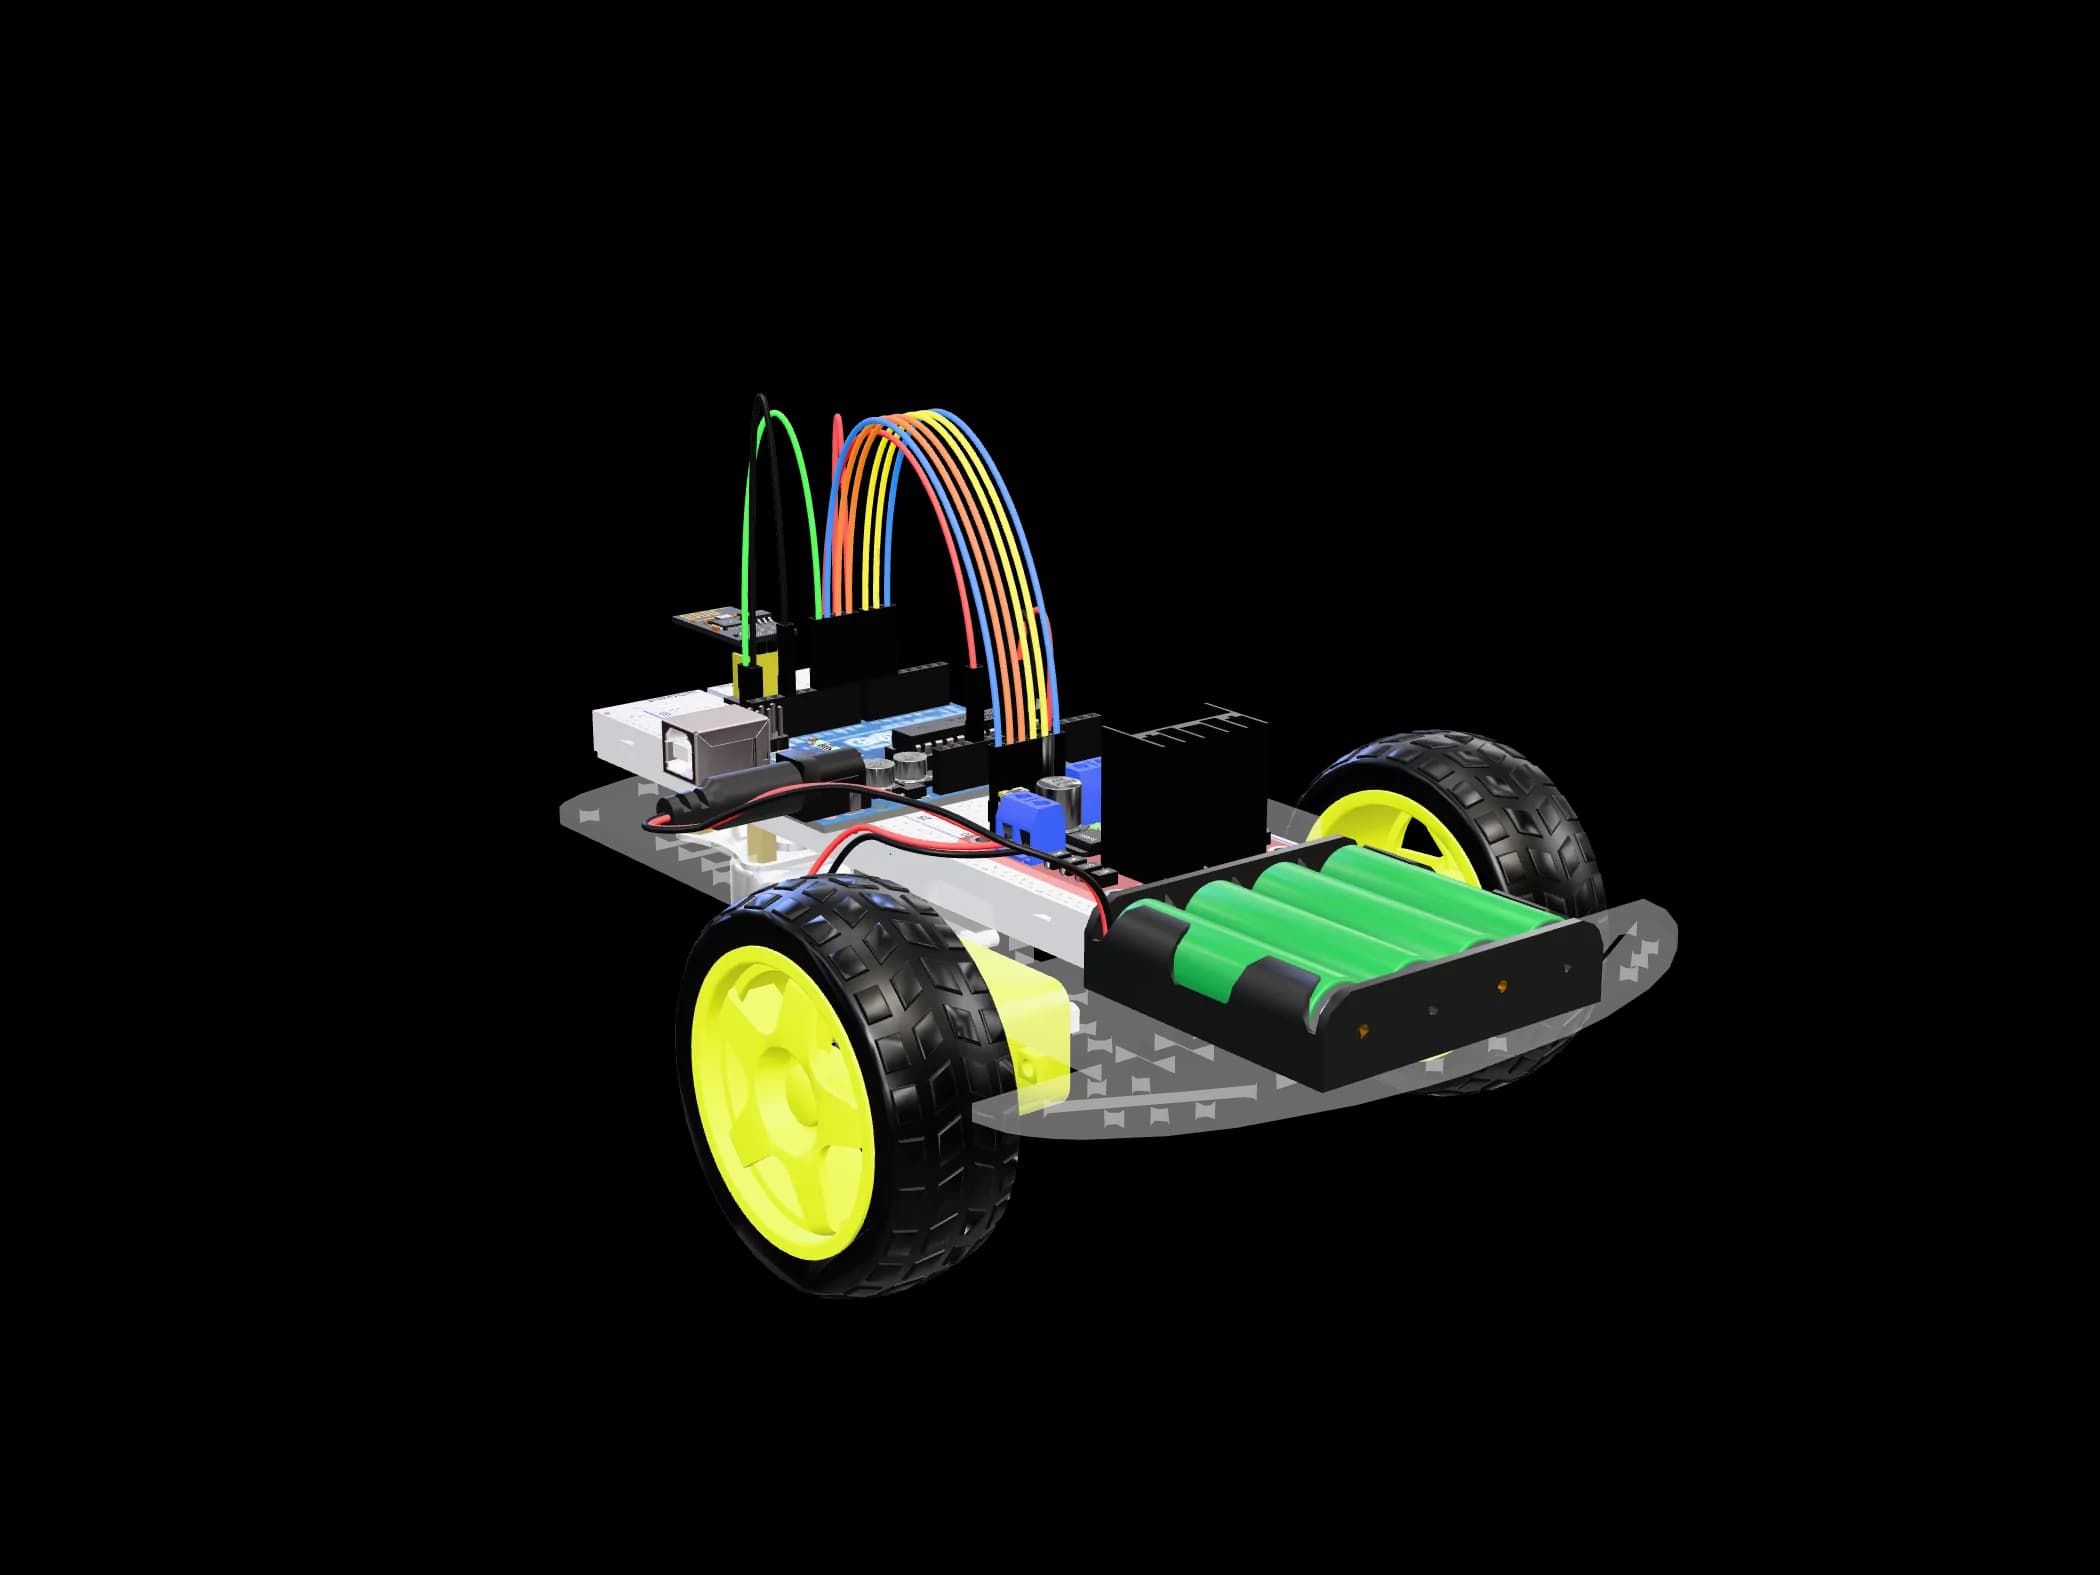
Robot car: build your first robot
A two-motor chassis, an L298N driver and an Arduino UNO — the foundation of robotics. By the end, the car drives a route you programmed: straight, turn, repeat.
- Difficulty
- Easy
- Time
- ~90 min
- Parts
- 11 parts
- Step by step
- 7 steps
- Driving motors through a driver and setting speed with PWM
- Battery power and a common ground
- Programming movement by time
Parts
- 1 × Arduino UNO R3 (ATmega328P, SMD)45,000 UZS
- 1 × 2WD Robot Chassis (Plastic Deck)30,000 UZS
- 1 × L298N Dual H-Bridge Motor Driver20,000 UZS
- 1 × nRF24L01+ 2.4 GHz Wireless Transceiver33,000 UZS
- 2 × TT Gear Motor with Wheel (Yellow, 3–6V)30,000 UZS
- 1 × 360° Wheel: Ball Caster / Mecanum12,000 UZS
- 2 × Lithium Battery (18650 / LiPo)30,000 UZS
- 1 × Battery Holder for 18650 Cells6,000 UZS
- 1 × Jumper Wires 20 cm, Male-Female (40 pcs)12,000 UZS
You'll also need
- — A computer with the Arduino IDE (free from arduino.cc)
- — A USB cable for the UNO (the UNO SMD “+ USB cable” option)
- — A small Phillips screwdriver
Step by step
- 01
Assemble the chassis
Bolt the two TT motors to the back of the deck with their brackets and the ball caster to the front. Push the wheels onto the shafts. Mount the battery holder and the L298N in the middle on standoffs.
- 02
Connect the motors to the driver
Left motor wires into OUT1/OUT2, right motor into OUT3/OUT4. If a motor later spins the wrong way, just swap its two wires.
- 03
Wire the control pins
Connect the L298N to the UNO with male-female wires as in the table below. Take the jumpers off ENA and ENB — otherwise speed control won't work.
- 04
Connect power
Battery + to the L298N's 12V terminal, − to GND. Run a wire from that GND to the UNO's GND, and the driver's 5V to the UNO's 5V. Don't insert the cells yet.
- 05
Fit the radio module
Wire the nRF24L01 as in the table: VCC to 3.3V only (5V kills the module), CE → D9, CSN → D10, SCK → D13, MOSI → D11, MISO → D12. For now the car drives its route on its own; the radio is ready for the next step — remote control from a second board with an nRF24L01 and a joystick.
- 06
Upload the code
Plug the UNO in over USB, pick the “Arduino Uno” board and its port in the Arduino IDE, paste the code and press Upload. Windows usually installs the CH340 driver by itself.
- 07
Test it
Unplug USB, insert the cells and set the car on the floor. It drives “straight + right turn” four times — a square. If the turns are more or less than 90°, adjust TURN_MS.
Wiring
- Power (+)
- Ground (−)
- Signal pin
- I²C / SPI bus
- L298NENA→UNOD5 remove the jumper on ENA
- L298NIN1→UNOD7
- L298NIN2→UNOD8
- L298NIN3→UNOD2
- L298NIN4→UNOD4
- L298NENB→UNOD6 remove the jumper on ENB
- L298NGND→UNOGND common ground — required
- L298N5V→UNO5V powers the UNO from the driver
- L298NOUT1OUT2→Left motor
- L298NOUT3OUT4→Right motor
- Battery+(2×18650)→L298N12V
- Battery−→L298NGND
- nRF24L01VCC→UNO3.3V not 5V!
- nRF24L01GND→UNOGND
- nRF24L01CE→UNOD9
- nRF24L01CSN→UNOD10
- nRF24L01SCK→UNOD13
- nRF24L01MOSI→UNOD11
- nRF24L01MISO→UNOD12
The code
// motors (L298N)
const int ENA = 5, IN1 = 7, IN2 = 8;   // left
const int ENB = 6, IN3 = 2, IN4 = 4;   // right

void motors(int left, int right) {     // -255 … 255
  digitalWrite(IN1, left >= 0);  digitalWrite(IN2, left < 0);
  digitalWrite(IN3, right >= 0); digitalWrite(IN4, right < 0);
  analogWrite(ENA, abs(left));   analogWrite(ENB, abs(right));
}

void setupMotors() {
  int pins[] = {ENA, IN1, IN2, ENB, IN3, IN4};
  for (int p : pins) pinMode(p, OUTPUT);
  motors(0, 0);
}

const int SPEED = 180;      // 0–255
const int STRAIGHT_MS = 1500;
const int TURN_MS = 420;    // tune for a 90° turn

void setup() {
  setupMotors();
  delay(2000);              // time to put it down
  for (int side = 0; side < 4; side++) {
    motors(SPEED, SPEED);   delay(STRAIGHT_MS);
    motors(SPEED, -SPEED);  delay(TURN_MS);
  }
  motors(0, 0);
}

void loop() {}
If something doesn't work
- Motors hum but don't turn: flat cells or SPEED too low — go above 150.
- One motor runs backwards: swap its two wires in the OUT terminals.
- The UNO keeps resetting: no common ground, or weak cells.
- The car drifts to one side: lower the speed of the faster motor a little.
Where to go from here
- Build a remote from a second board, an nRF24L01 and a joystick, and drive the car by radio (the “RF24” library)
- Add an HC-SR04 sensor and turn it into an obstacle-avoiding robot